top of page

Work in Progress(WIPs)
Project task
Students are required to take screenshots of their modelling progress throughout the process.
FINAL
OUTCOME
Project 1: Revit Modelling & Documentation
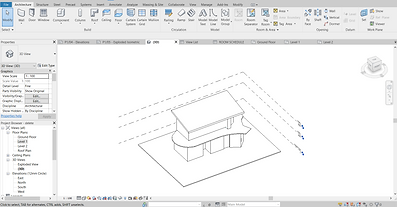
STEP1 :
Creating a new document and inserting reference drawings to calculate sizes of each spaces
.png)
STEP2 :
Creating Ground Floor Floor & Walls
Creating First Floor Floor & Walls
Creating the Roof
.png)
.png)
.png)
.png)
.png)
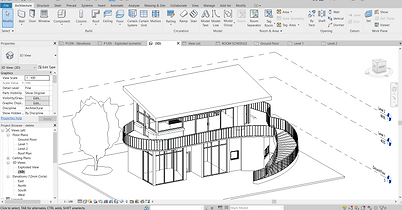
STEP3 :
Creating Exterior Stairs & Railing
.png)
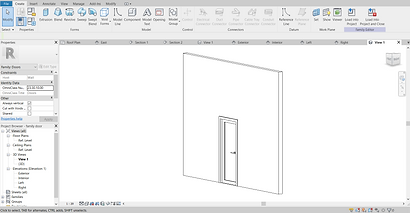
STEP4 :
Creating Family Files - Window & Door
.png)
.png)
.png)
.png)
.png)
.png)
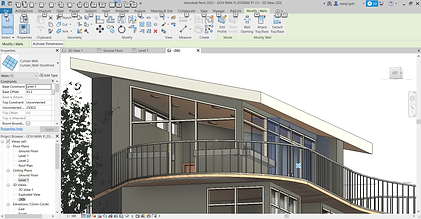
STEP5 :
Inserting Exterior Sliding Storefront Curtain Doors & WindowsInterior Doors & Windows & Railing
.png)
.png)
.png)
STEP6 :
Creating interior staircase
.png)
STEP7 :
Adding Toposurface
.png)
STEP8 :
Adding Room Tags
Region Masking & Detail Lines
.png)
.png)
.png)
.png)
STEP9 :
Room Schedules
.png)
STEP10 :
Section Callouts
.png)
.png)
STEP11 :
Documentations
.png)
.png)
.png)
.png)
.png)
.png)
Project 2: Exterior & Interior Renderings
STEP1 :
Adding Artificial Lights in Revit

STEP2 :
Inserting Cameras
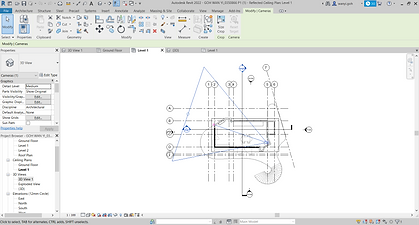
STEP3 :
Adjusting Interior Perspective View

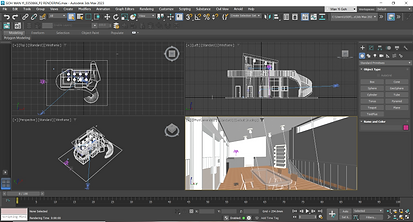
STEP4 :
Importing into 3dsmax

STEP5 :
Place Exterior Physical Camera
Adjusting Exterior Perspective Views


STEP6 :
Placing the Sun

STEP7 :
Repositioning the Sun

STEP8 :
Exterior Rendering Adjustments
Process Exterior Render


STEP9 :
Place Interior Physical Camera
Adjusting Interior Perspective Views

STEP10 :
Interior Rendering Adjustments
STEP11 :
Process Interior Render

STEP12 :
Exterior Post-render - Adding Grass

STEP13 :
Exterior Post-render - Adding the Sky

STEP14 :
Exterior Post-render - Adding Trees

STEP15 :
Exterior Post-render - Adding Human Figures & Shadows


STEP16 :
Interior Post-render - Import Interior

STEP17 :
Interior Post-render - Adding the Sky& Grass

STEP18 :
Interior Post-render - Artificial Lighting

STEP19 :
Interior Post-render - Human Figure & Trees

REFLECTION


bottom of page